When I began watching this past week's glittered button tutorial, my first thought was "Too messy!" I'm not a big fan of glitter, nor of spray adhesive, unless I can use it outside. Even before Ashley demonstrated using glitter glue, I remembered Dazzling Details (Stampin' Up's version of Stickles) and the challenge was on!
 I used PTI's Iconic Images to stamp the cool batik-looking floret in Daffodil Delight, Lucky Limeade and Pool Party. I stamped the Whisper White banner (cut from the Petal Cone die) with an image from (retired SAB) So Happy for You and made a Pool Party banner to go behind it. I covered clear Itty Bitty Buttons with Dazzling Details, let them dry overnight and added a sliver of card stock as a faux stitch. I found I rather liked them with the thin coat of glitter; as plain clear buttons, they don't make much of an impact unless they are backed with colored card stock or a stamped image.
 I made two very similar versions of this card, since I was just loving the batik flower. The banner on the other card is folded and popped up in the middle, and I used round buttons on the flowers.
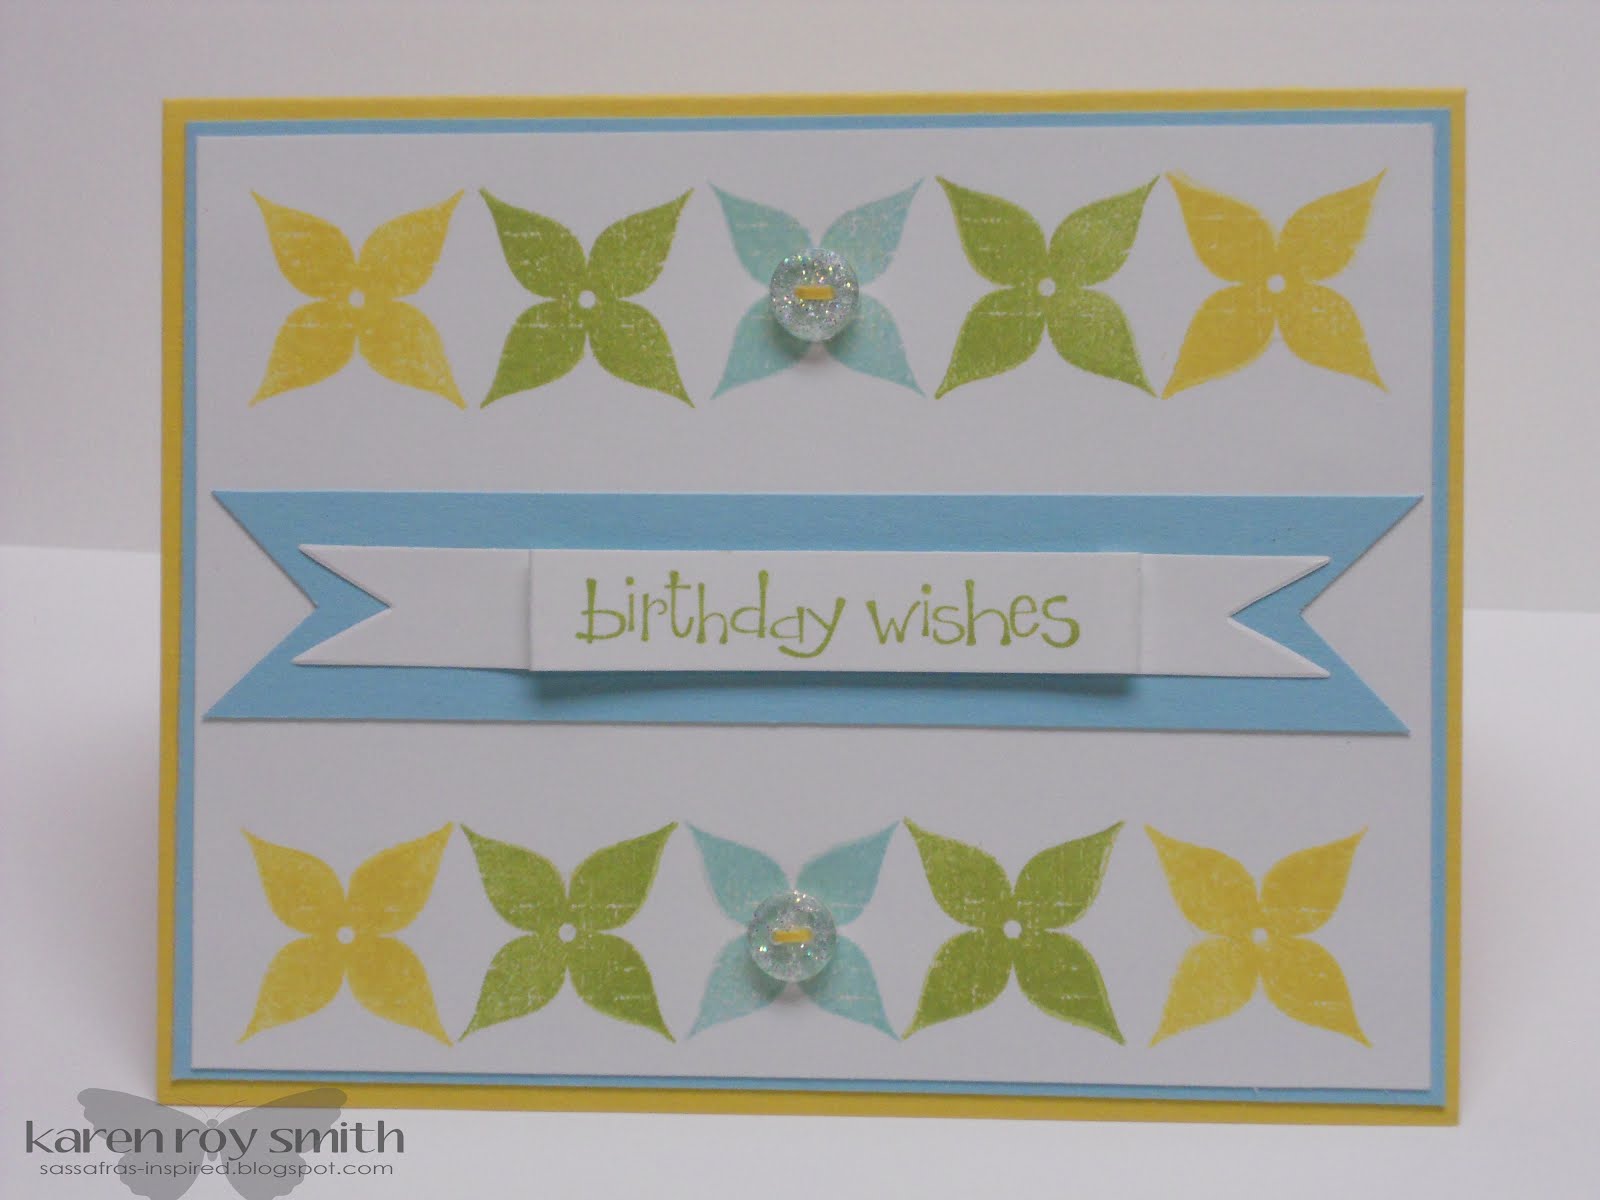 I think I like the first version best; what about you?
 The inside of the card was stamped with an old retired stamp - I don't remember which set it belongs to, as it has been in a drawer of stamps which have gotten separated from their sets. I thought it went well with the little "birthday wishes"; they have a similar style even though they're different fonts.
 So even though I initially dismissed the technique, I'm glad I tried it. I may even use it again!
Simply beautiful. I love the white buttons with the glitter. Glad to see you got to play along with the challenge.
ReplyDeletePretty colors - I love the batik flower too. The glittered buttons add just the right zing!
ReplyDelete